This lesson teaches you to
If you have handheld notifications that include an action to input text,
such as reply to an email, it should normally launch an activity
on the handheld device to input the text. However, when your notification appears on a wearable,
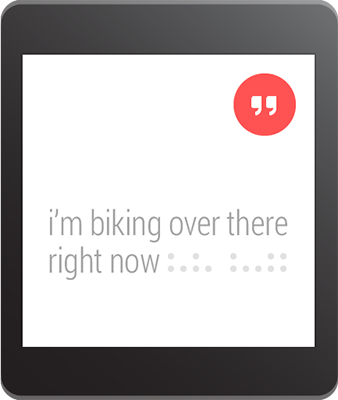
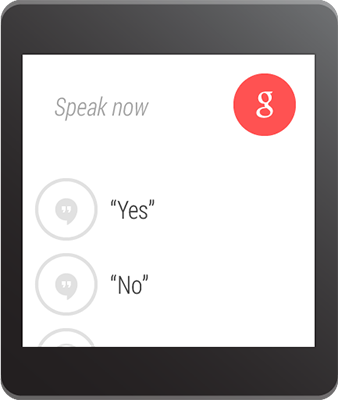
there is no keyboard input, so you can let users dictate a reply or provide pre-defined text messages
using
RemoteInput
.
When users reply with voice or select one of the available
messages, the system attaches the text response to the
Intent
you specified
for the notification action and sends that intent to your handheld app.


Note: The Android emulator does not support voice input. When using the emulator for a wearable device, enable Hardware keyboard present in the AVD settings so you can type replies instead.
Define the Voice Input
To create an action that supports voice input, create an instance of
RemoteInput.Builder
that you can add to your notification action.
This class's constructor accepts a string that the system uses as
the key for the voice input, which you'll later use to retrieve the text of the
input in your handheld app.
For example, here's how to create a
RemoteInput
object that provides a custom
label for the voice input prompt:
       // Key for the string that's delivered in the action's intent
private static final String EXTRA_VOICE_REPLY = "extra_voice_reply";

String replyLabel = getResources().getString(R.string.reply_label);

RemoteInput remoteInput = new RemoteInput.Builder(EXTRA_VOICE_REPLY)
        .setLabel(replyLabel)
        .build();
Add Pre-defined Text Responses

In addition to allowing voice input, you can
provide up to five text responses that the user can select for quick replies. Call
setChoices()
and pass it a string array.
For example, you can define some responses in a resource array:
res/values/strings.xml
        <?xml version="1.0" encoding="utf-8"?>
<resources>
    <string-array name="reply_choices">
        <item>Yes</item>
        <item>No</item>
        <item>Maybe</item>
    </string-array>
</resources>
Then, inflate the string array and add it to the
RemoteInput
:
       public static final EXTRA_VOICE_REPLY = "extra_voice_reply";
...
String replyLabel = getResources().getString(R.string.reply_label);
String[] replyChoices = getResources().getStringArray(R.array.reply_choices);

RemoteInput remoteInput = new RemoteInput.Builder(EXTRA_VOICE_REPLY)
        .setLabel(replyLabel)
        .setChoices(replyChoices)
        .build();
Add the Voice Input as a Notification Action
To set the voice input, attach your
RemoteInput
object to an action using
addRemoteInput()
.
You can then apply the action to the notification. For example:
       // Create an intent for the reply action
Intent replyIntent = new Intent(this, ReplyActivity.class);
PendingIntent replyPendingIntent =
        PendingIntent.getActivity(this, 0, replyIntent,
                PendingIntent.FLAG_UPDATE_CURRENT);

// Create the reply action and add the remote input
NotificationCompat.Action action =
        new NotificationCompat.Action.Builder(R.drawable.ic_reply_icon,
                getString(R.string.label, replyPendingIntent))
                .addRemoteInput(remoteInput)
                .build();

// Build the notification and add the action via WearableExtender
Notification notification =
        new NotificationCompat.Builder(mContext)
                .setSmallIcon(R.drawable.ic_message)
                .setContentTitle(getString(R.string.title))
                .setContentText(getString(R.string.content))
                .extend(new WearableExtender().addAction(action))
                .build();

// Issue the notification
NotificationManagerCompat notificationManager =
        NotificationManagerCompat.from(mContext);
notificationManager.notify(notificationId, notification);
When you issue this notification, users can swipe to the left to see the "Reply" action button.
Receiving the Voice Input as a String
To receive the user's transcribed message in the activity you declared in the reply action's intent,
call
getResultsFromIntent()
,
passing in the "Reply" action's intent. This method returns a
Bundle
that
contains the text response. You can then query the
Bundle
to obtain the response.
Note:
Do not use
Intent.getExtras()
to obtain the voice result, because the voice input is stored as
ClipData
. The
getResultsFromIntent()
method provides a convenient way to receive a character sequence without
having to process the
ClipData
yourself.
The following code shows a method that accepts an intent and returns the voice response,
which is referenced by the
EXTRA_VOICE_REPLY
key that is used in the previous examples:
       /**
 * Obtain the intent that started this activity by calling
 * Activity.getIntent() and pass it into this method to
 * get the associated voice input string.
 */

private CharSequence getMessageText(Intent intent) {
    Bundle remoteInput = RemoteInput.getResultsFromIntent(intent);
        if (remoteInput != null) {
            return remoteInput.getCharSequence(EXTRA_VOICE_REPLY);
        }
    }
    return null;
}