Please note that the contents of this offline web site may be out of date. To access the most recent documentation visit the online version .
Note that links that point to online resources are green in color and will open in a new window.
We would love it if you could give us feedback about this material by filling this form (You have to be online to fill it)


Testing and Deploying Endpoints with App Engine

Note: These instructions assume you've already created your Android app and App Engine backend

Testing Locally

To test an Endpoint in the local environment using the App Engine development server:

  1. Click Run on the App Engine application to start the local development server:

  2. In your Android project, set CloudEndpointUtils.LOCAL_ANDROID_RUN to true. This indicates that the Android application connects to the local development server.
  3. Run your Android application in your emulator running with a target with Google APIs :
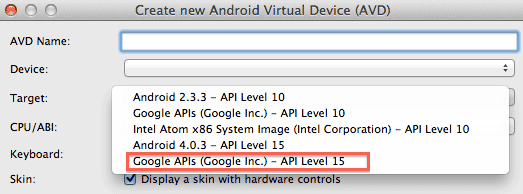
Deploying to App Engine

To deploy the App Engine project to App Engine:

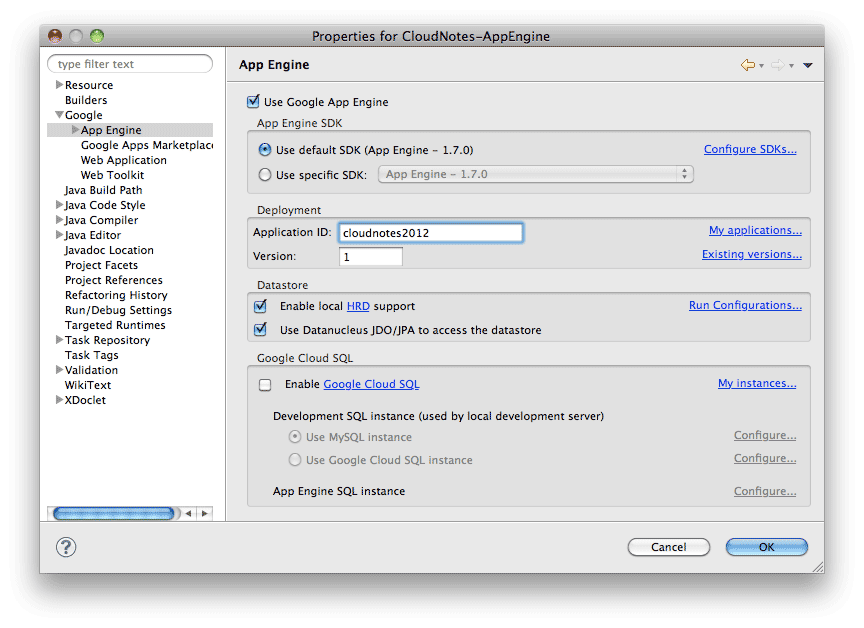
  1. Set the Application ID for the App Engine project: Project > Properties > Google > App Engine > Application ID

    Notice that the client libraries for the Android app get generated automatically at this point, with the correct URL to reach the backend.
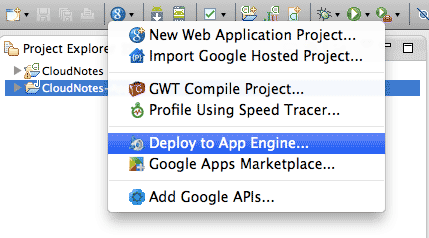
  2. Deploy using the wizard as shown below:
  • In your Android project within the CloudEndpoints class, set LOCAL_ANDROID_RUN to false. This indicates that the Android application connects to the remote App Engine app.
  • Run your Android application in your emulator running with a target with Google APIs .
  • Verify that the Notes were inserted in the Datastore Viewer of your App Engine backend .
  • Authentication required

    You need to be signed in with Google+ to do that.

    Signing you in...

    Google Developers needs your permission to do that.