If you are creating a new Android app, you can choose to create one that is designed for an App Engine backend using the App Engine Android Connected Project wizard. This wizard creates a sample application that consists of an Android app that has an App Engine backend. The sample Android app registers with the backend via an Endpoints API and receives messages from the backend via Google Cloud Messaging for Android. The sample app consists of required boilerplate code along with sample code that can be easily replaced by your own app code.
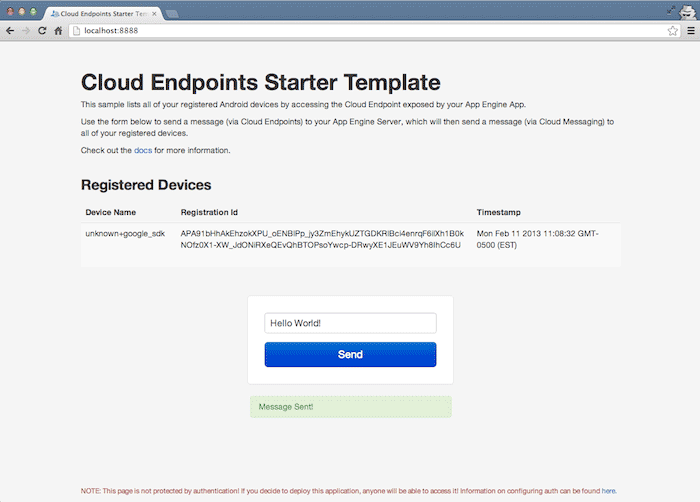
The App Engine backend provides an API to register Android clients and a Web UI to broadcast messages to clients.
To generate this project using the App Engine Android Connected Project wizard:
-
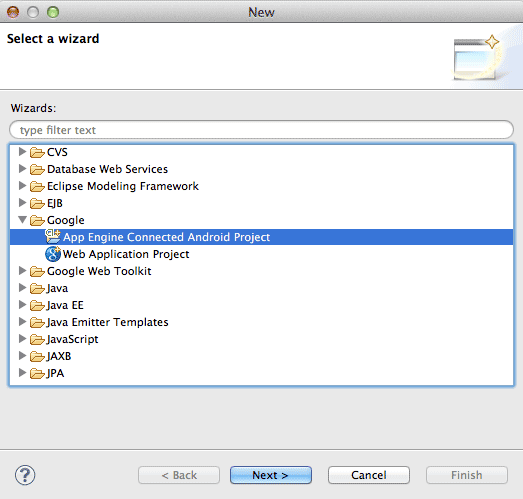
Click
File > New > Other > Google >
App Engine Connected Android Project
:
-
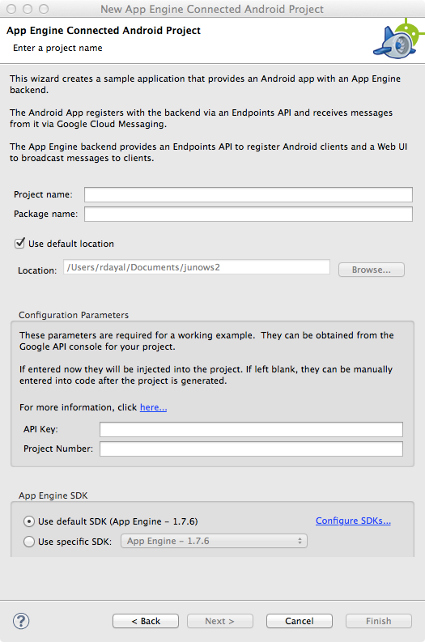
This opens the wizard. Enter a project name and package name of your choice:
-
Enter the
Project number
for your Google Cloud project into the wizard.
The generated Android application needs this number to register for Google Cloud Messaging.
The Project Number is listed in the top-left corner of your project's Overview tab in
Google Developers Console
.
(You can always add the project number later by modifying the value of
PROJECT_NUMBERin GCMIntentService.java) -
Enter the
API key
into the wizard.
For that, you must enable Google Cloud Messaging for Android in the "APIs & auth" section
of your project in
Google Developers Console
.
Then, navigate to "Credentials" subsection (within "APIs & auth" section) and copy the API key for server applications back into the wizard. This enables App Engine to securely communicate with the Google Cloud Messaging server.
(You can always add the API key later by modifying the value of
API_KEYin MessageEndpoint.java) -
To test the app with the backend running locally, in your Android project
within the
CloudEndpointsclass, setLOCAL_ANDROID_RUNto true. This indicates that the Android application connects to the local App Engine backend. -
Start the App Engine app (right click > Run as > Web Application).
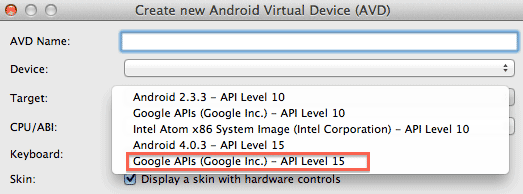
Run your Android application in your emulator running a target with Google APIs.
-
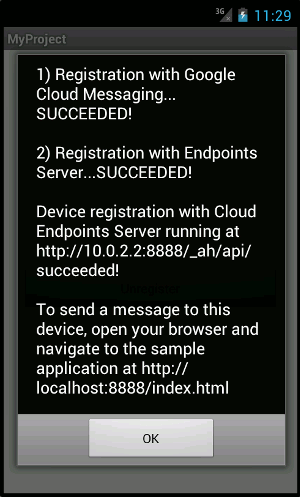
Run your Android application in your emulator and click the
Register
button.
- Verify that the Device registration was recorded in the local App Engine backend by navigating to the Datastore Viewer from the following URL: http://localhost:8888/_ah/admin .
-
Access the backend UI to view registered devices and send GCM messages to
them:
-
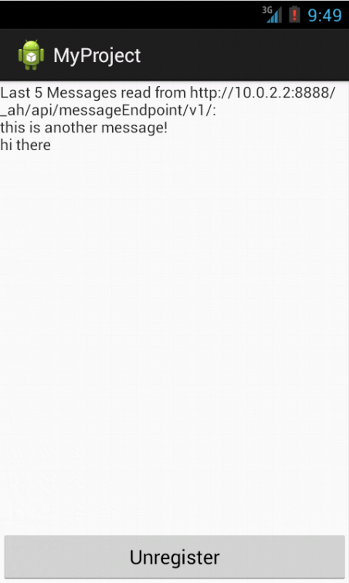
View GCM messages as they arrive in your Android application:
At this point, you are ready to add and annotate entities needed for your Android app.
