The Mobile Backend uses Google Cloud Messaging (GCM), to enable real-time push features Continuous Query and Pub/Sub Messaging . In the sample Guestbook app, messages sent from one client are automatically pushed to all other clients.
Enabling Google Cloud Messaging
Before using GCM, you must enable the API in Google's API Console :
- Open the Google API Console and make sure your Mobile Backend project is the active project by selecting it in the projects pulldown menu in the top left.
- Click Services .
- Locate Google Cloud Messaging for Android in the list of available services, and click the ON toggle.
- Accept the Terms of Services if you have not already.
- Click API Access in the top left of the API console.
- Scroll down to click Create new Server key... You don't need to supply any IP values in this form. (Using a server key allows you to whitelist IP addresses).
- Click Create .
- Locate the API key within the Key for server apps form and copy this key to the clipboard.
-
Navigate to
.appspot.com. This will bring you to your Mobile Backend Starter settings configuration page. - Under Google Cloud Messaging and iOS Push Notification , toggle the radio button to "Enabled". Copy your API Key from the clipboard into the text box provided.
- Click Save .
Configuring the sample
-
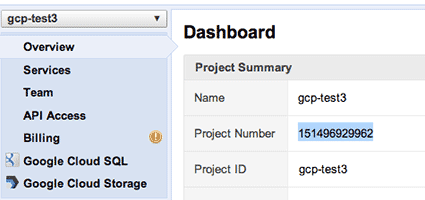
From the Google API Console , click Overview and locate the project number for your project:

-
Locate the
PROJECT_NUMBERstatic in your Android project's Const.java file:/** * Set Project Number of your Google APIs Console Project. */ public static final String PROJECT_NUMBER = "*** ENTER YOUR PROJECT NUMBER ***"; -
Replace
*** ENTER YOUR PROJECT NUMBER***with the project number. - Click Save .
Running the Sample
- Right-click your project in the Package Explorer pane, and select Run As > Android Application .
- Wait a few moments for the to be transferred onto your device.
- Start the client app.
- Repeat steps 1-3 with a second Android device.
-
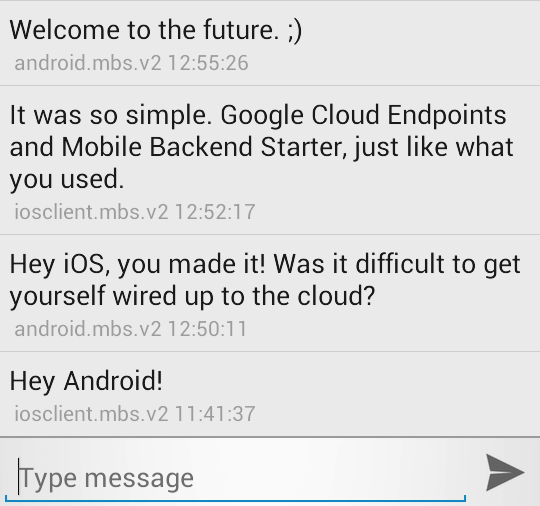
Enter some text into one of the devices and click Send . The message sent will be echoed with a timestamp:

-
Check the second Android device or AVD. The same message should have been automatically pushed and is displayed there too.
Messages are currently not associated with a particular user. You'll do that next.
