The Mobile Backend Starter consists of three components:
- A ready-to-deploy mobile backend.
- An Android sample app that uses the backend.
- An iOS sample app that uses the backend.
These instructions take you through the process of deploying the Mobile Backend on Google's Cloud. If you have already done this and are looking to start using the backend see Running the Android sample or Running the iOS sample .
To deploy the backend:
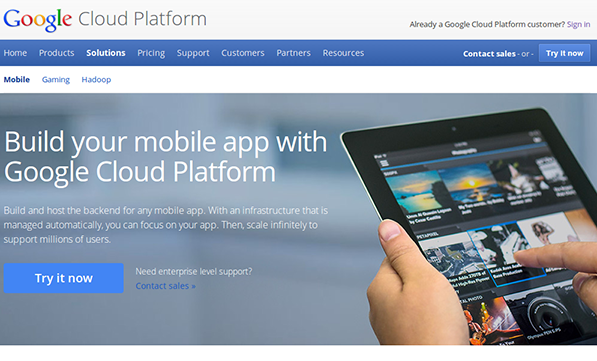
- In your browser, navigate to cloud.google.com and click on the Solutions tab.
-
Click Try it now .

-
In the New Project form (sign into your Google account if prompted):
- Assign a project name , you can use any name you wish.
- Supply a project ID , or accept the autogenerated ID.

-
Click the Mobile Sample getting started link:

-
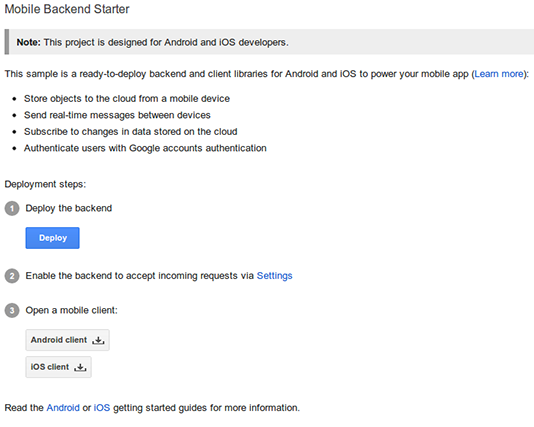
In the Mobile Backend Starter page, click Deploy . It may take a few moments to deploy:

-
Click Settings , located under the Deploy button.
- If you are prompted to give permission for this app to access your Google account, make sure the account selected is the one in which you created the project, then click Allow .
-
In the Mobile Backend settings form, under Authentication/Authorization, select Open and then click Save . (We will change the other settings in the next tutorial).

-
Verify that the backend is working by using your browser to visit
https://your-project-id.appspot.com/_ah/api/explorer, replacingyour-project-idwith the Project ID you chose earlier. If the backend is running correctly, you will see the Mobilebackend Api listed on the page. If the backend is not working, you can debug the problem via the App Engine logs:- Visit the Cloud Console .
- Open your project.
- Click the App Engine icon.
- In the left navigation panel, locate and click Admin Logs , under Administration.
- Examine the logs to determine the issue.
Your Mobile Backend is deployed and ready for use.
Next
At this point, you are ready to run the Android Sample or run the iOS Sample to see the Mobile Backend in action.
